



How Fleets Can Request Roadside Assistance with Trucker Guide

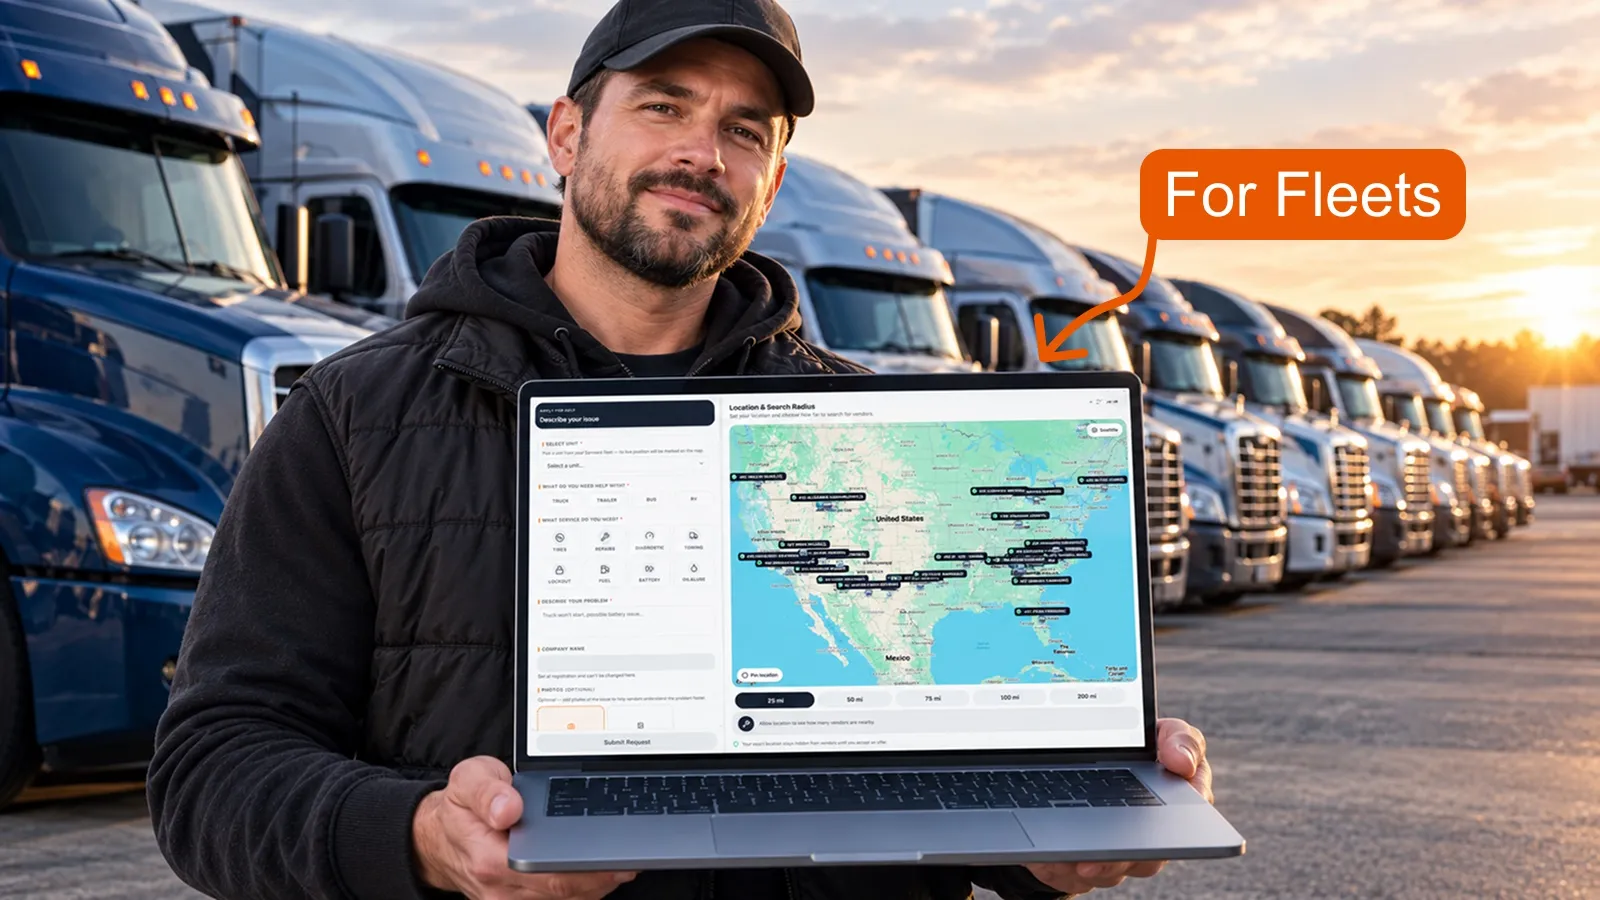
Need roadside assistance for your drivers? Trucker Guide’s Roadside Assistance Service lets dispatchers and fleet teams submit service requests on behalf of drivers, provide vehicle and issue details, review offers from nearby providers, and coordinate roadside assistance from the Fleet Portal.
From tire problems and breakdowns to towing, repairs, and diagnostics, you can share the information providers need, compare available offers, and select a provider to assist your driver.
Here’s how to request roadside assistance and connect your driver with an available provider. 👇
Key Facts:
- Fleets can submit roadside assistance requests through the Trucker Guide Fleet Portal on behalf of their drivers.
- Trucker Guide currently supports 2 fleet integrations: Samsara GPS and Motive (KeepTruckin), allowing fleets to select connected units when requesting service.
- Fleet teams can enter the driver’s location, choose a search radius, describe the issue, select the vehicle and service needed, and add photos before submitting a request.
- Roadside service providers within the selected search radius can review requests and respond with their offers, which fleets can review through the Requests page.
- Trucker Guide charges a $19.99 service fee, while the roadside service cost depends on the offer and provider selected.
- Fleets can also add driver and vehicle information manually, including the driver’s contact details and vehicle information such as the unit number, VIN, license plate number, make, model, year, and color.
1. Access the Fleet Portal
Start by opening the Fleet Portal and signing in to your company account. If you are registering for the first time, enter your first and last name, fleet company USDOT number, email address, phone number, and password. The system uses your USDOT number to automatically identify the company associated with it, while your phone number is used for SMS confirmation.
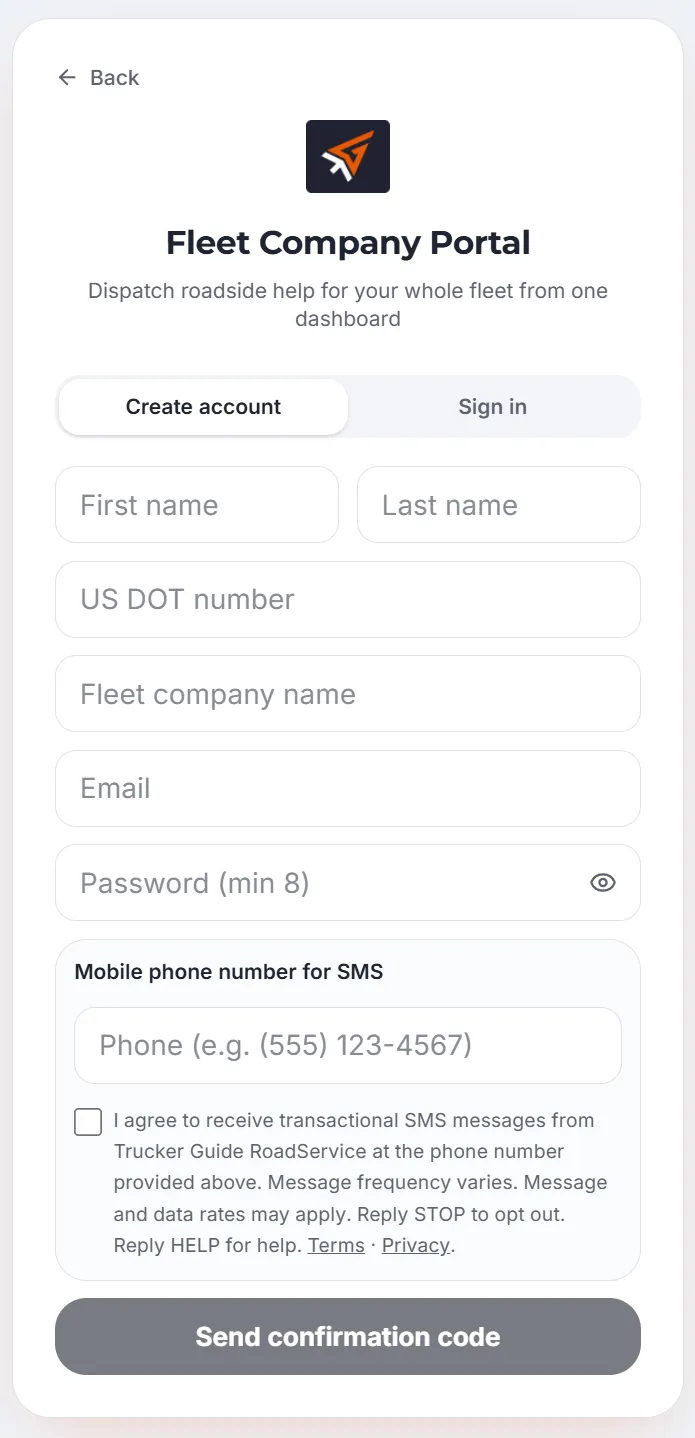
Once registration is complete, you can access the Fleet Portal and begin submitting and managing roadside assistance requests for your fleet.
2. Add the Driver’s Location
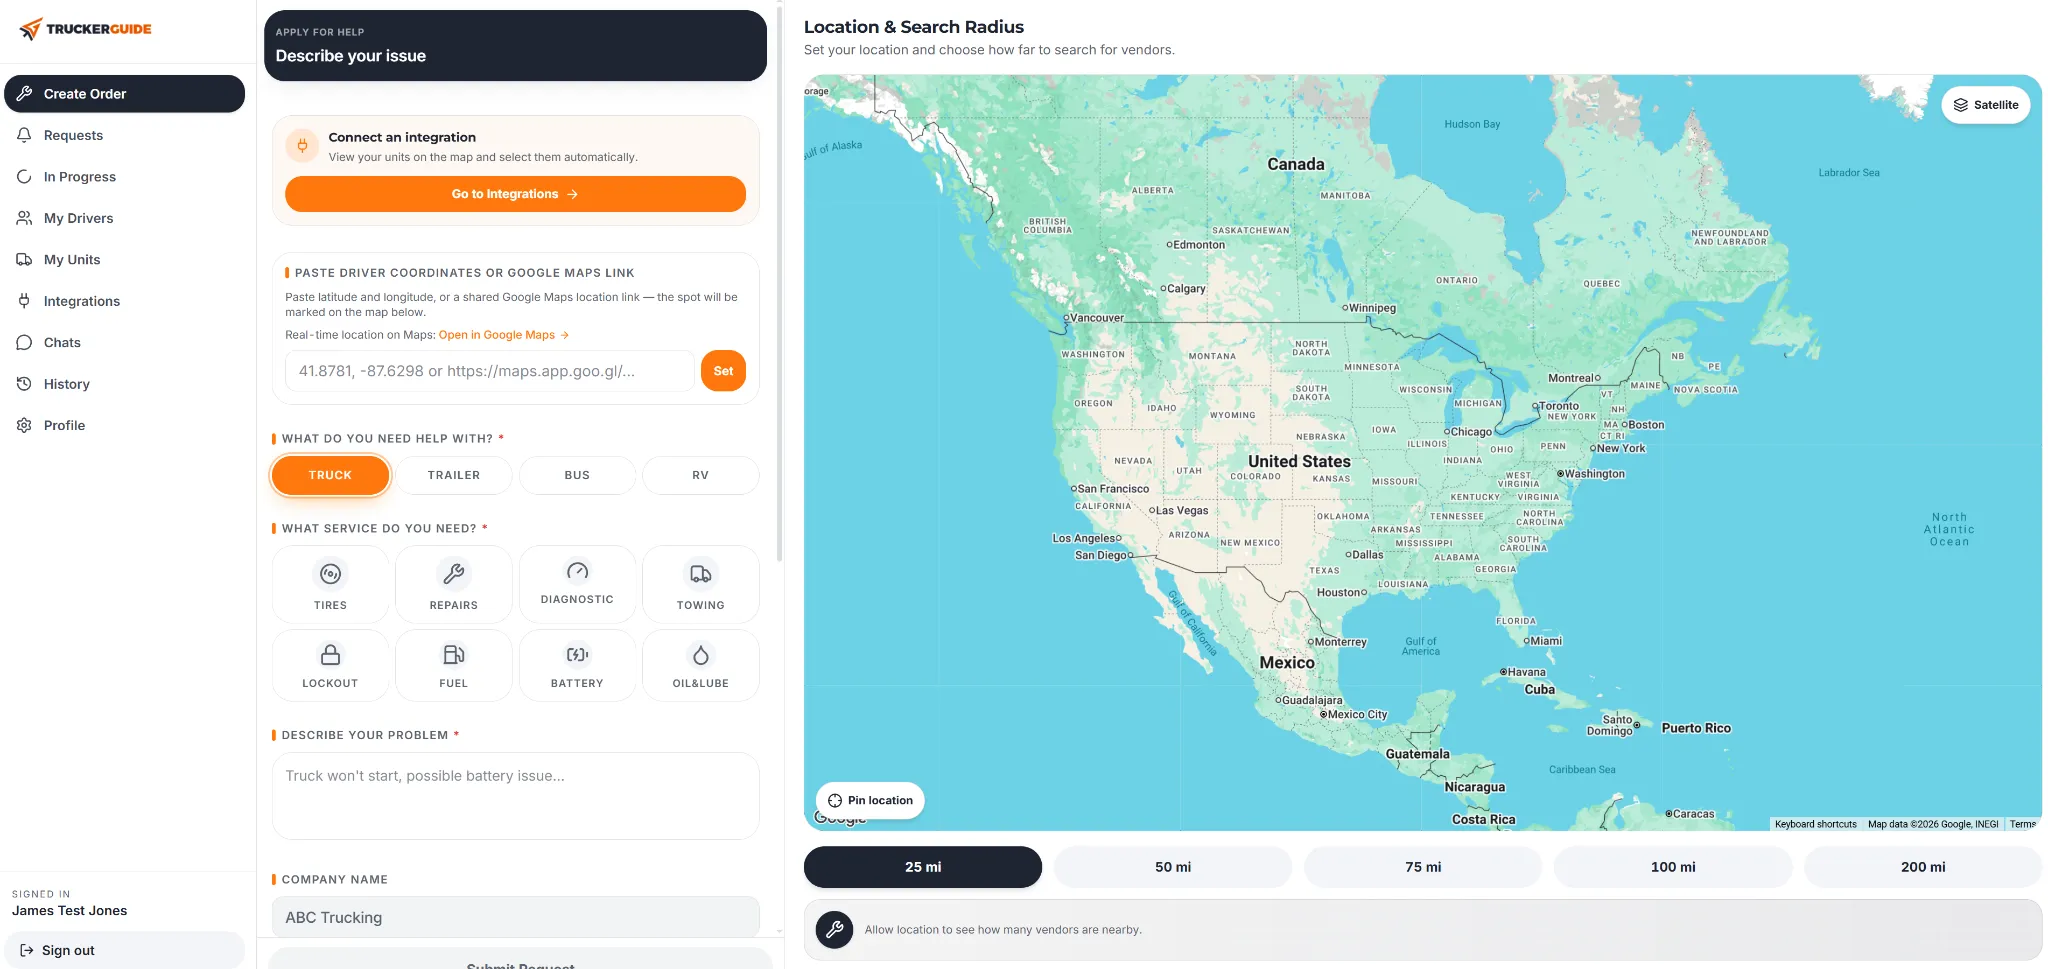
The first step in creating a roadside assistance request is to provide the driver's current location. You can enter the location directly on the order page by pasting the latitude and longitude coordinates or a Google Maps link.
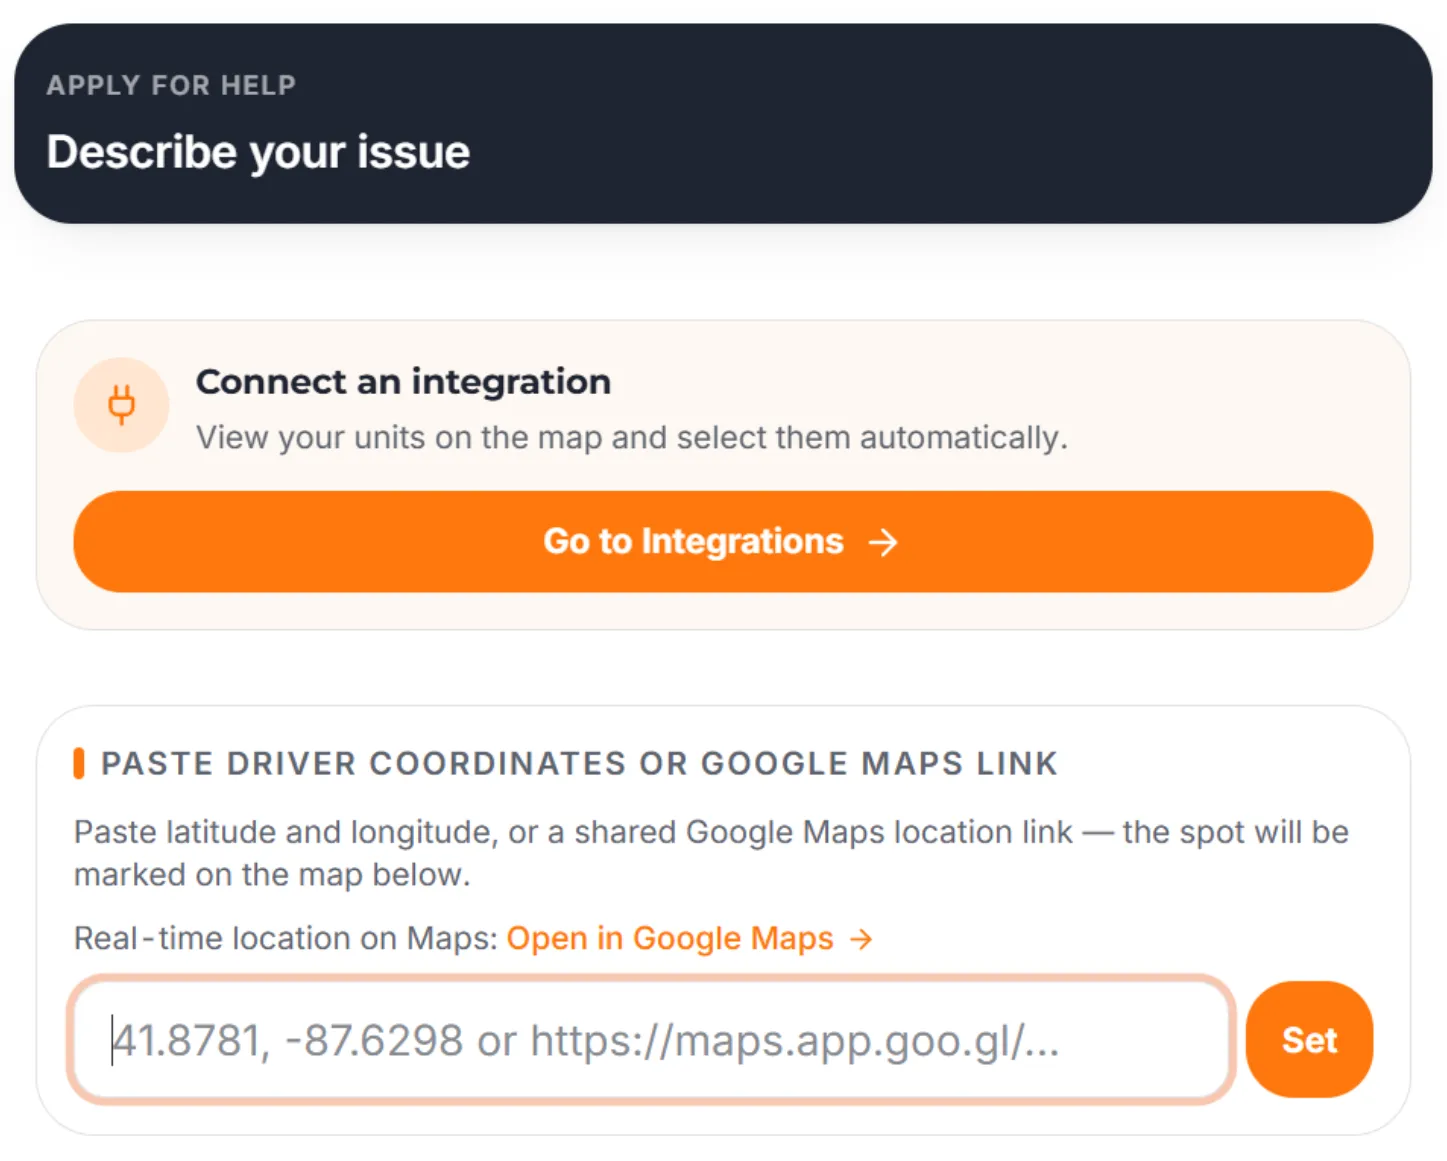
You can also use the map to set the location. Tap “Pin the location” in the bottom-left corner and drop the pin where the driver is located.
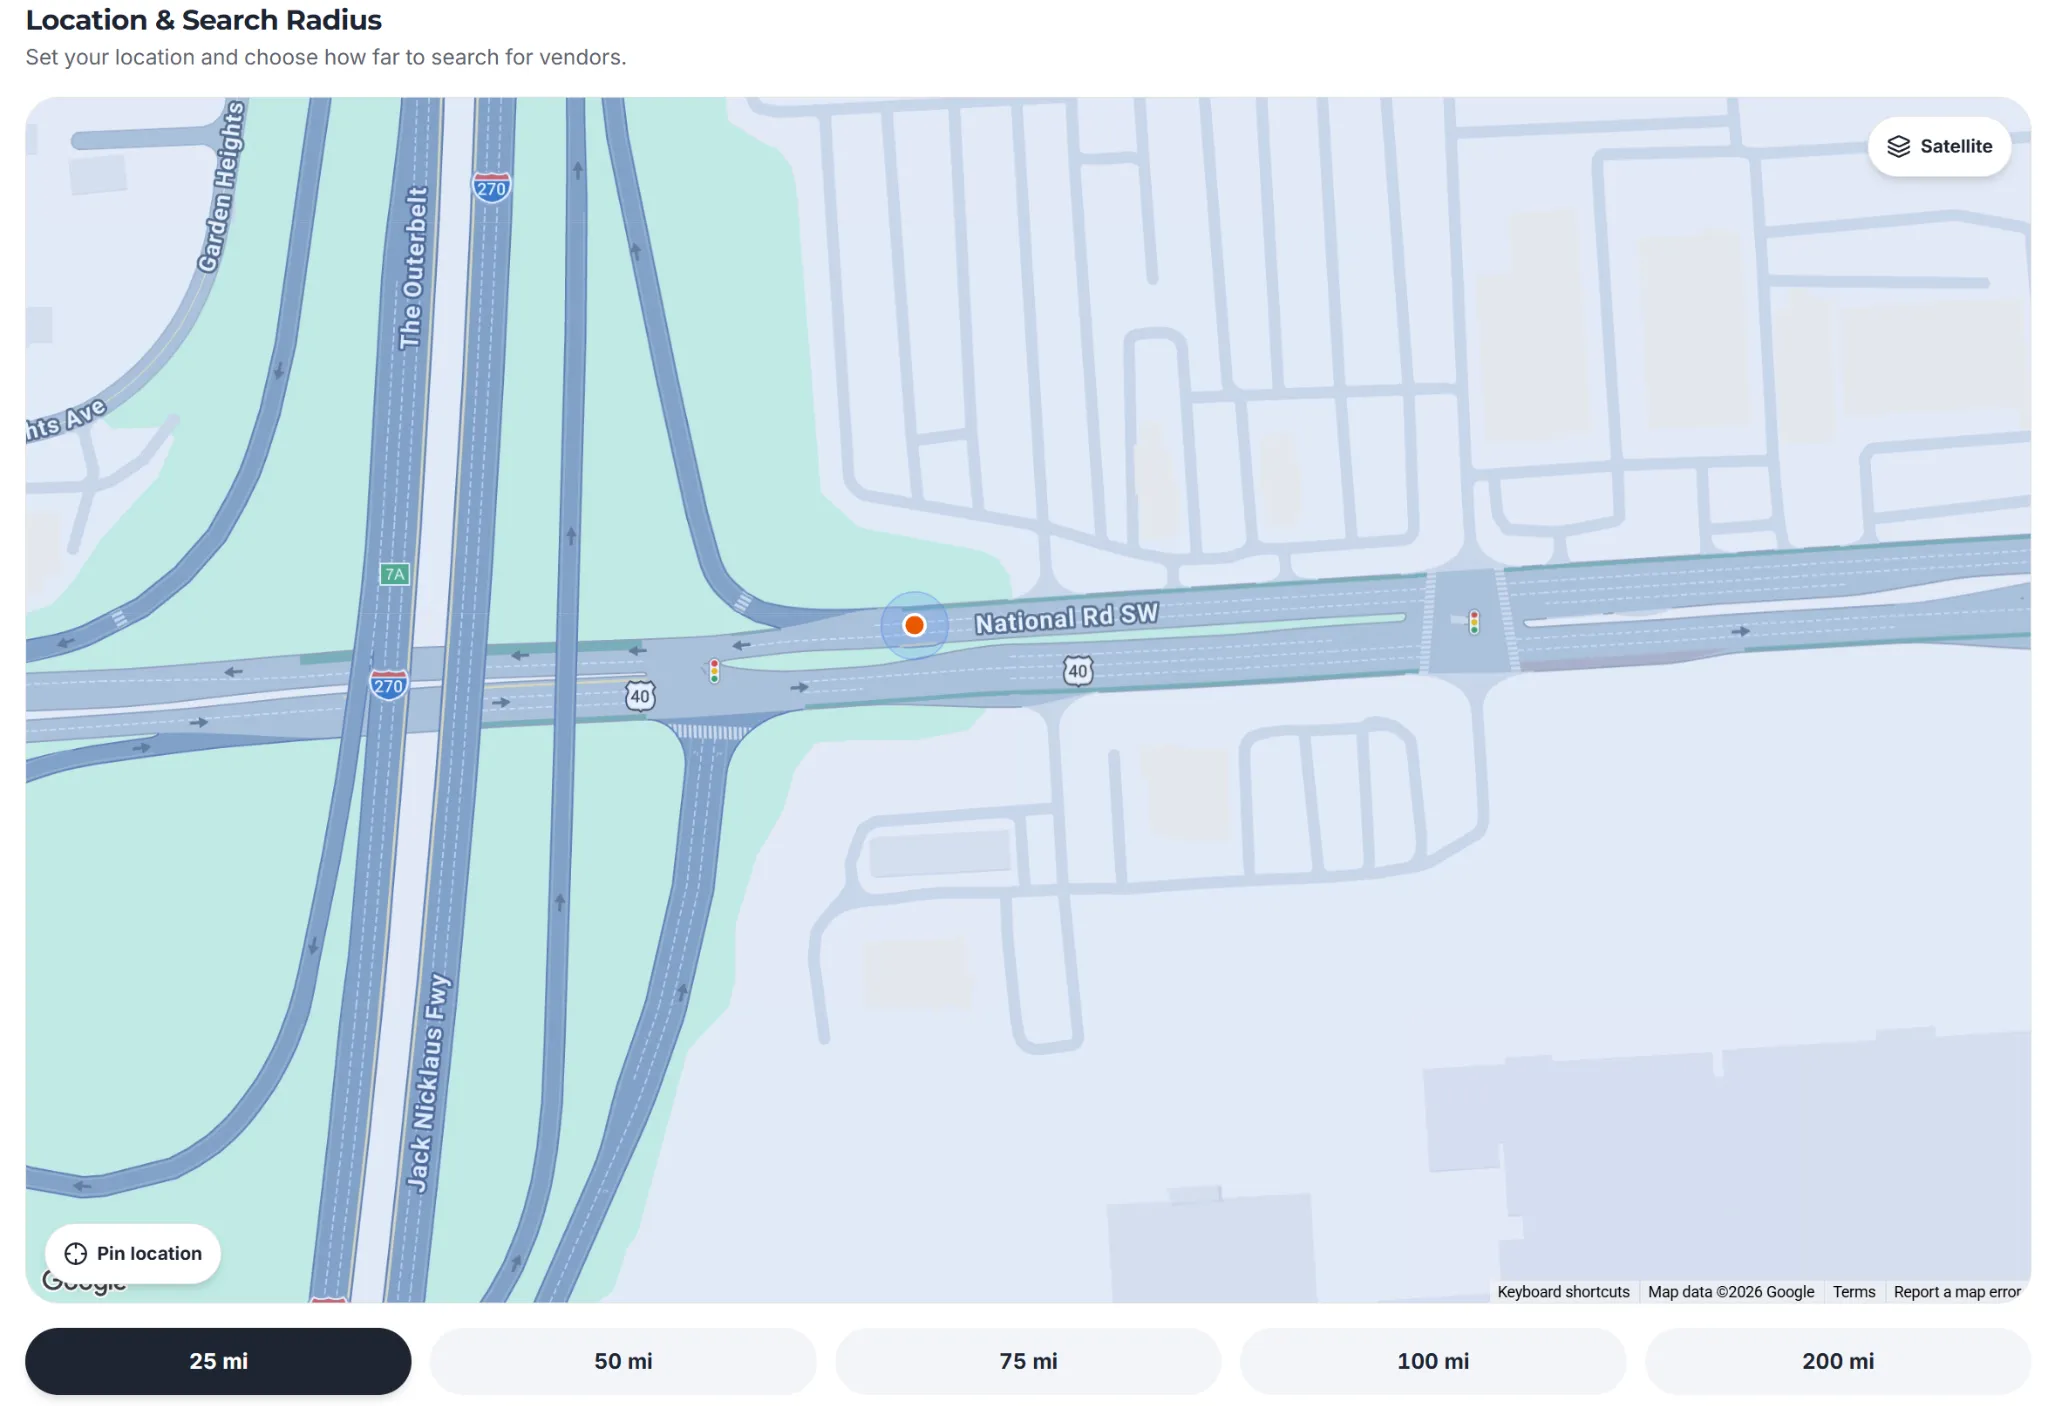
If you need to pinpoint the location more precisely, switch to satellite view and zoom in on the map before placing the pin.
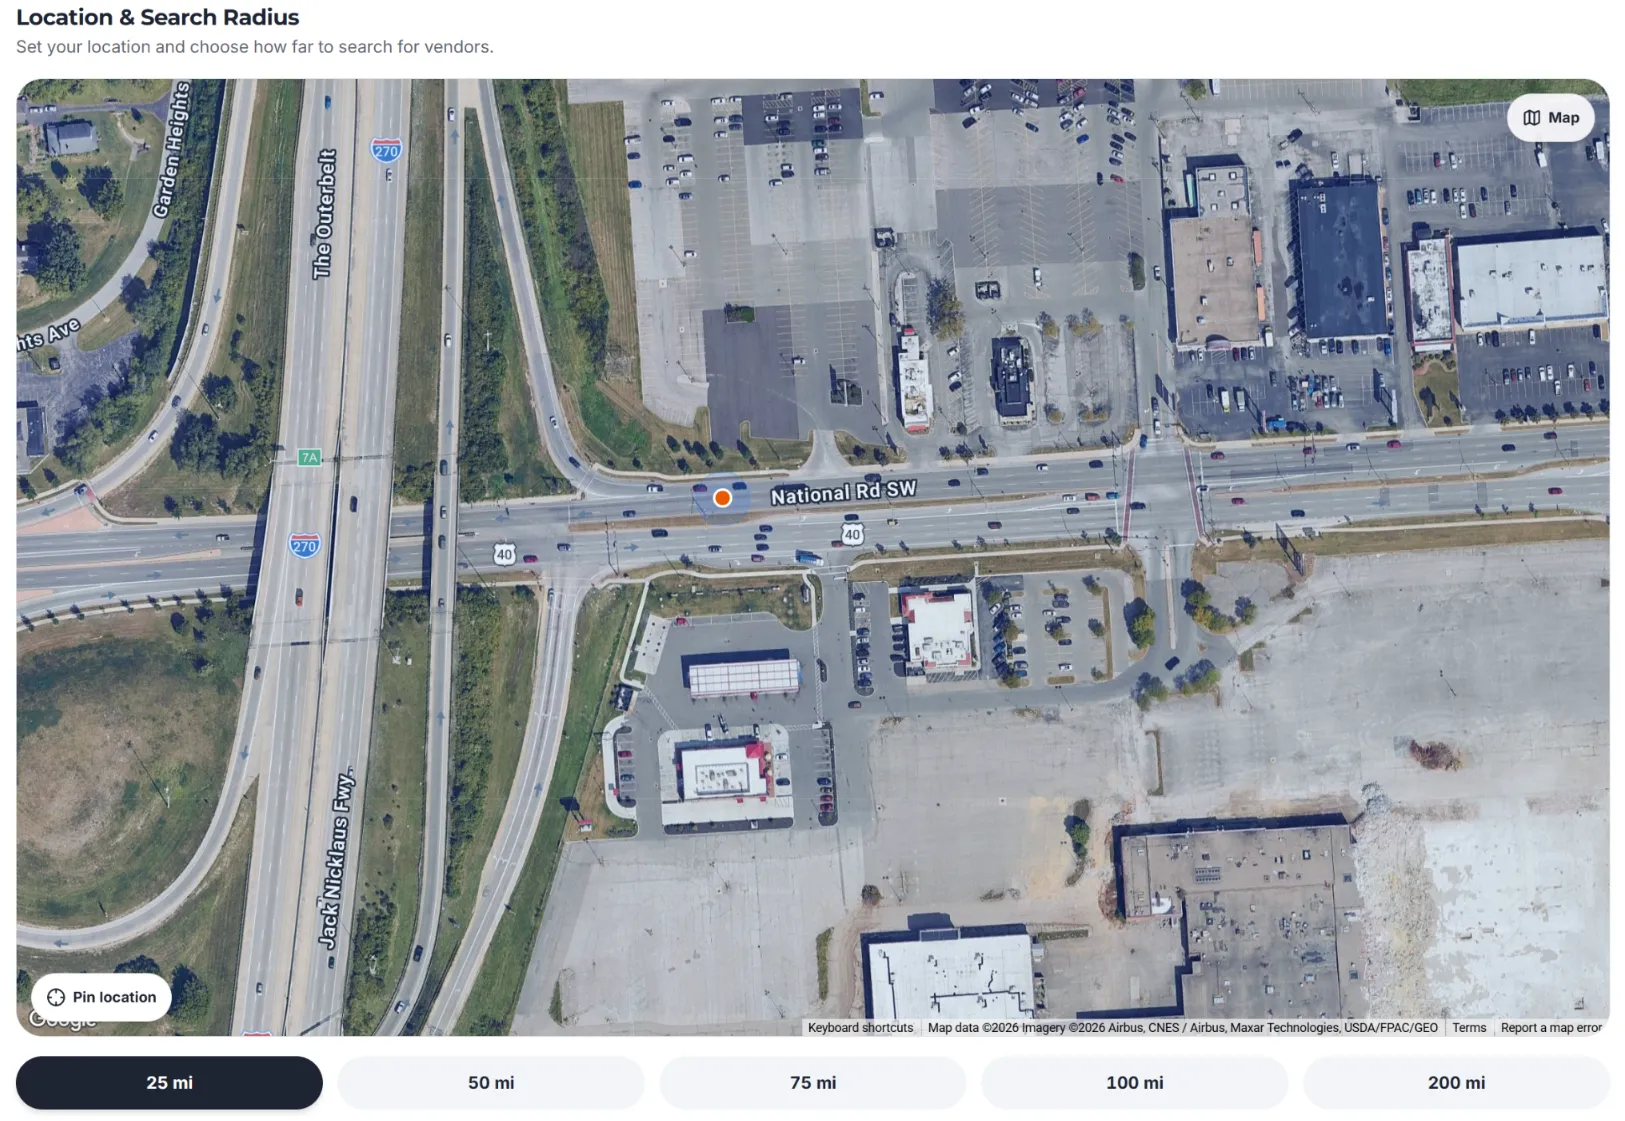
Once the location has been selected, the system automatically adds the corresponding coordinates to the coordinates field.
3. Set the Search Radius
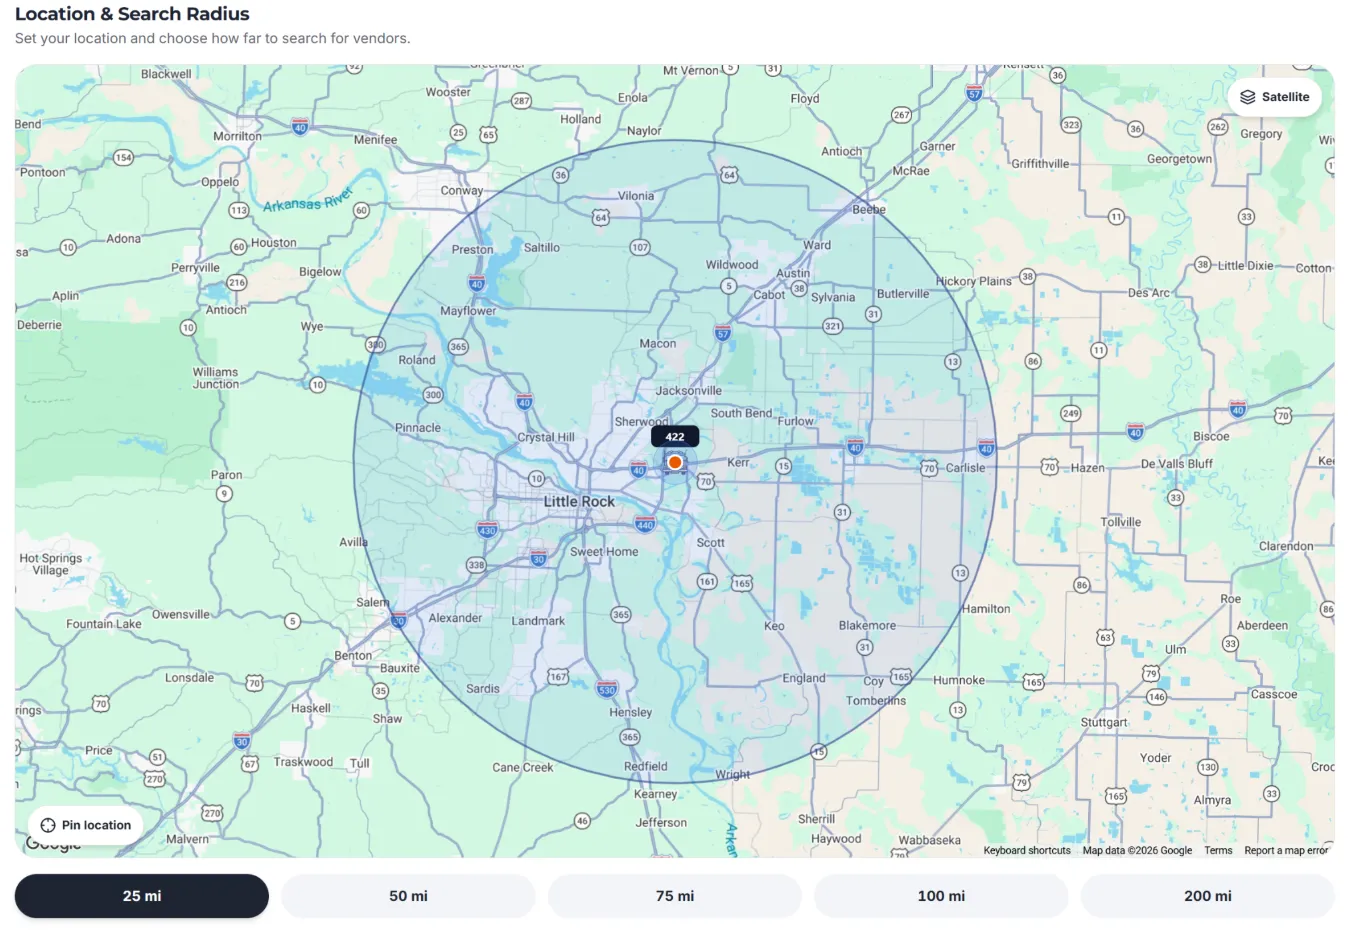
After setting the driver’s location, choose the search radius in miles. This determines the area in which Trucker Guide searches for available roadside service providers.

4. Describe the Issue
Next, provide the details of the roadside problem so service providers can understand what assistance the driver needs.
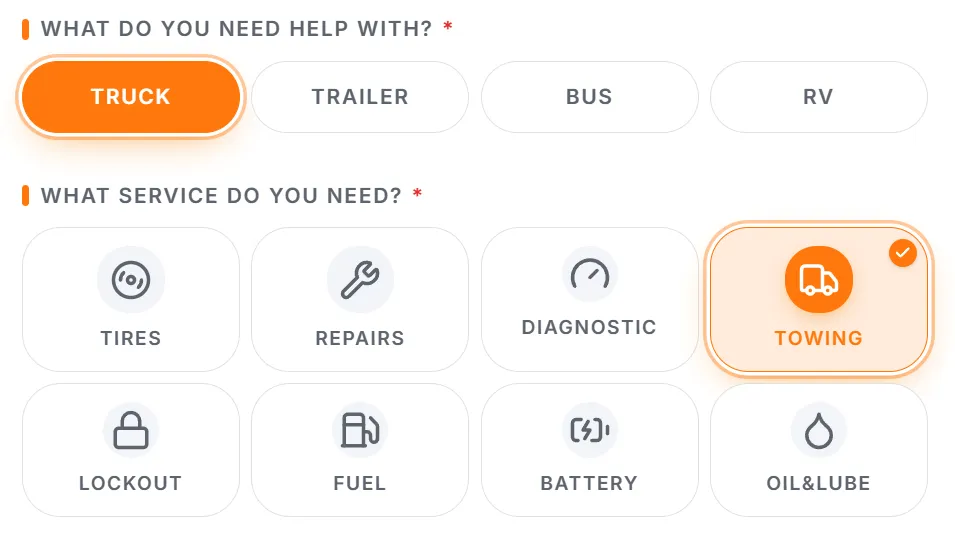
Start by selecting the type of vehicle, such as a truck, trailer, RV, or bus. Then choose the service required, such as tire service, mobile repairs, towing, fuel delivery, diagnostics, or another type of roadside assistance.
Use the notes field to describe the problem in more detail. For example, if the driver needs towing, you can include details about the vehicle’s condition and the circumstances that led to the request.
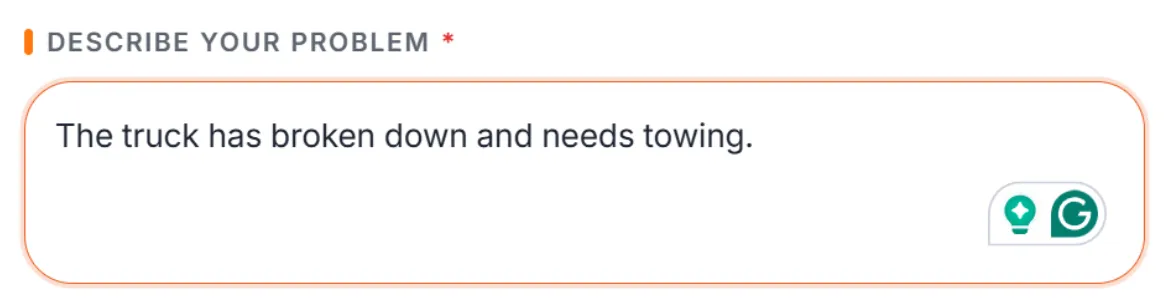
If the issue involves a tire or another visible component, explain what happened and provide any relevant details you have.
5. Select the Driver and Unit
Once the issue has been described, associate the request with the driver and vehicle that need assistance.
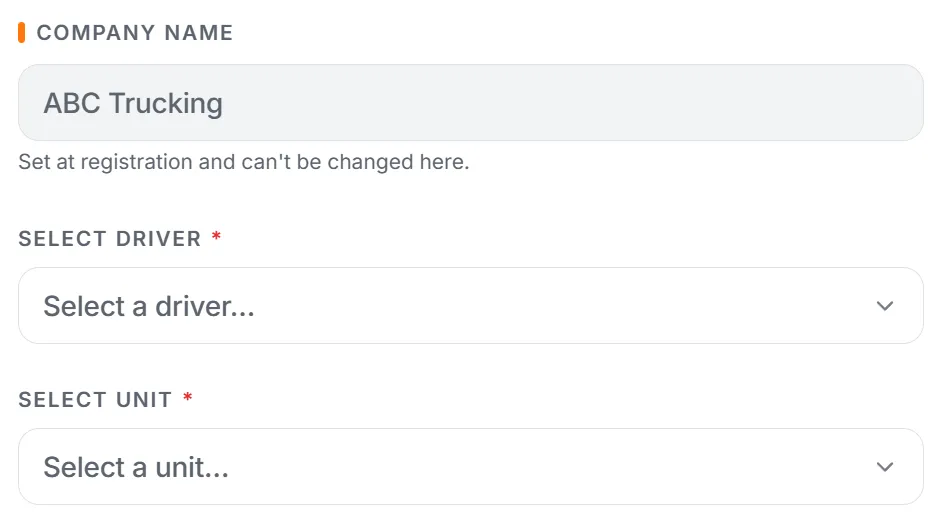
You can do this by connecting a supported fleet integration or by adding the driver and unit manually.
Connect a Fleet Integration
If your fleet uses a supported fleet management or GPS system, you can connect it to the Fleet Portal and select your units directly from the map.
To connect a fleet system, open Integrations in the Fleet Portal. The available integrations currently include Samsara GPS and Motive (KeepTruckin).

For Samsara, enter your Samsara API token and select “Connect.” The token can be created in Samsara under Settings → API Tokens with read access to Vehicles. The system can match Samsara vehicles using information such as the unit number, VIN, or license plate.

For Motive (KeepTruckin), enter your Motive API secret key and select “Connect.” Once the integration is connected, your fleet units can be displayed on the map and selected when creating a roadside assistance request.
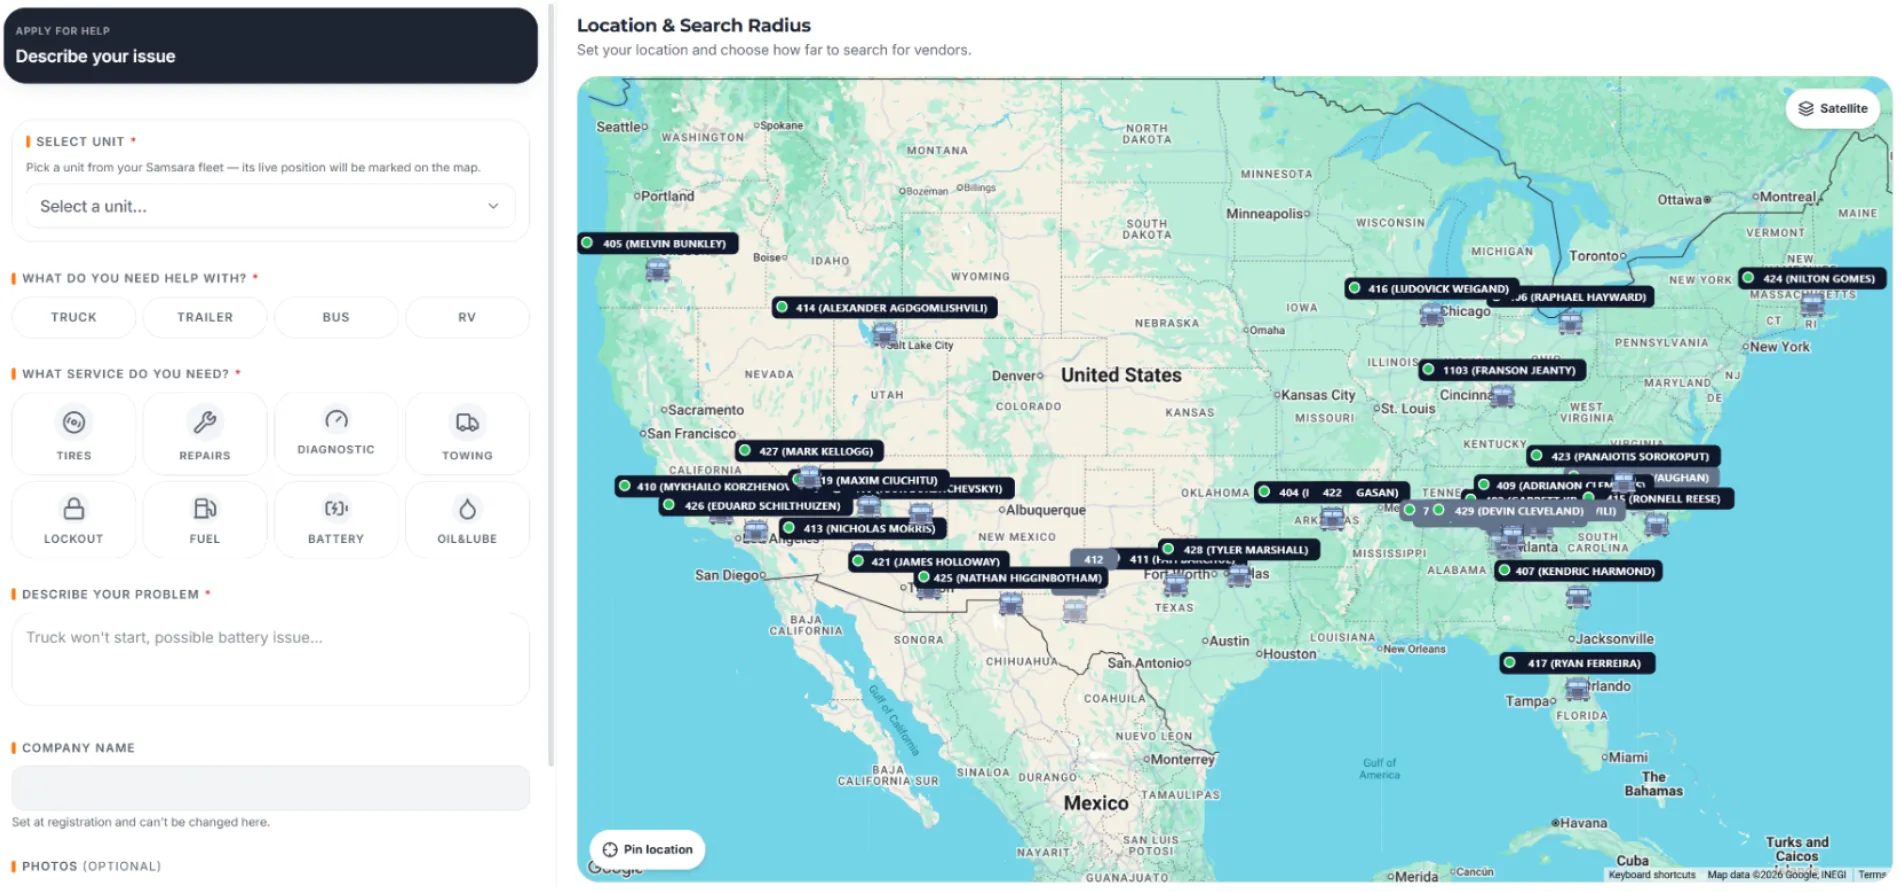
You can then tap the unit on the map to request service for the driver assigned to that vehicle.
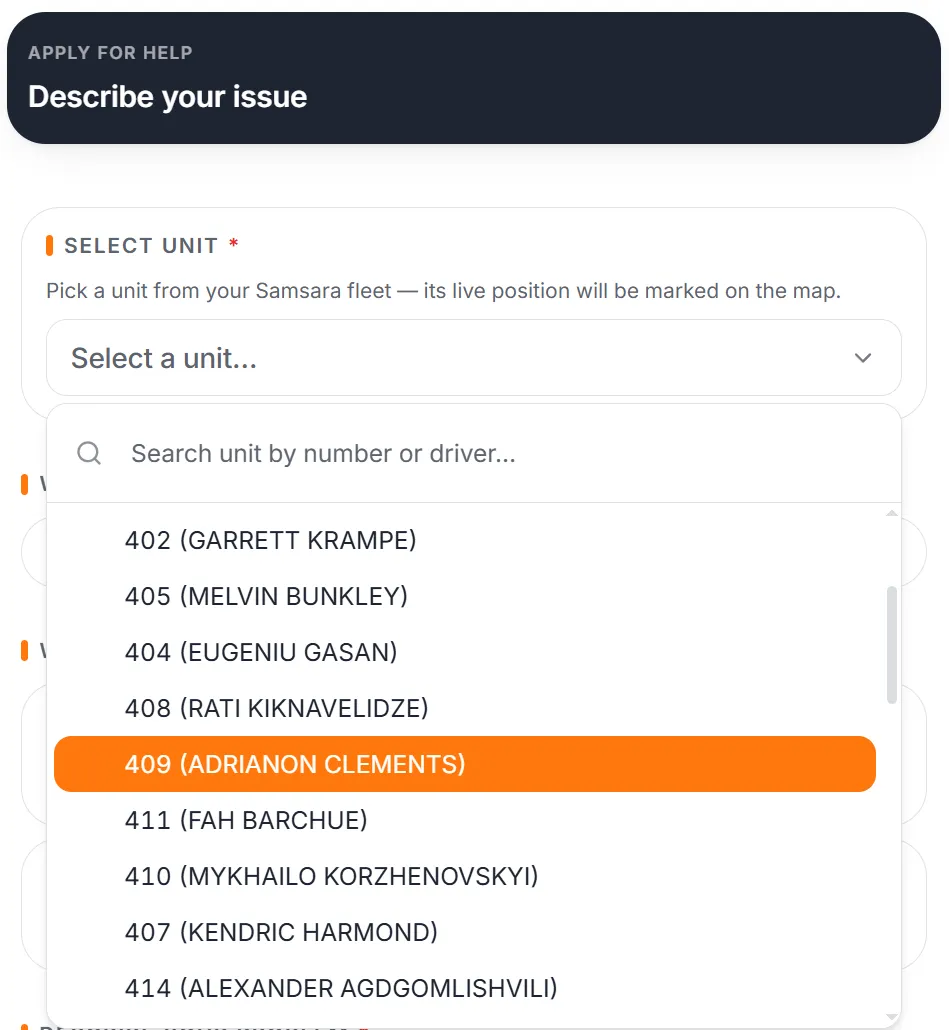
You can also choose the preferred unit from your fleet list instead of selecting it on the map. Select the unit associated with the driver who needs assistance to continue with the roadside assistance request.
Add the Driver and Unit Manually
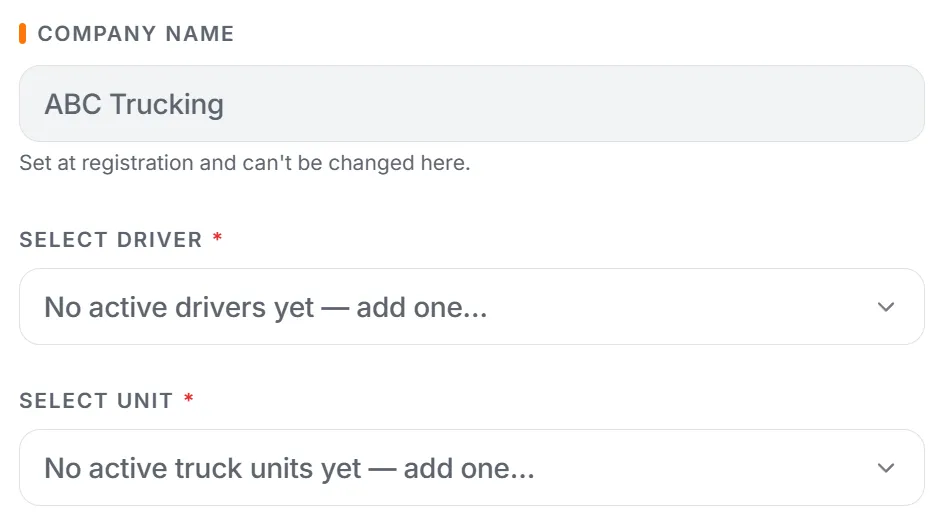
If you’re not using a fleet integration, you can enter the driver and vehicle information manually or add a new driver and unit to your fleet. This allows you to provide the details needed to identify the driver and vehicle for the roadside assistance request.
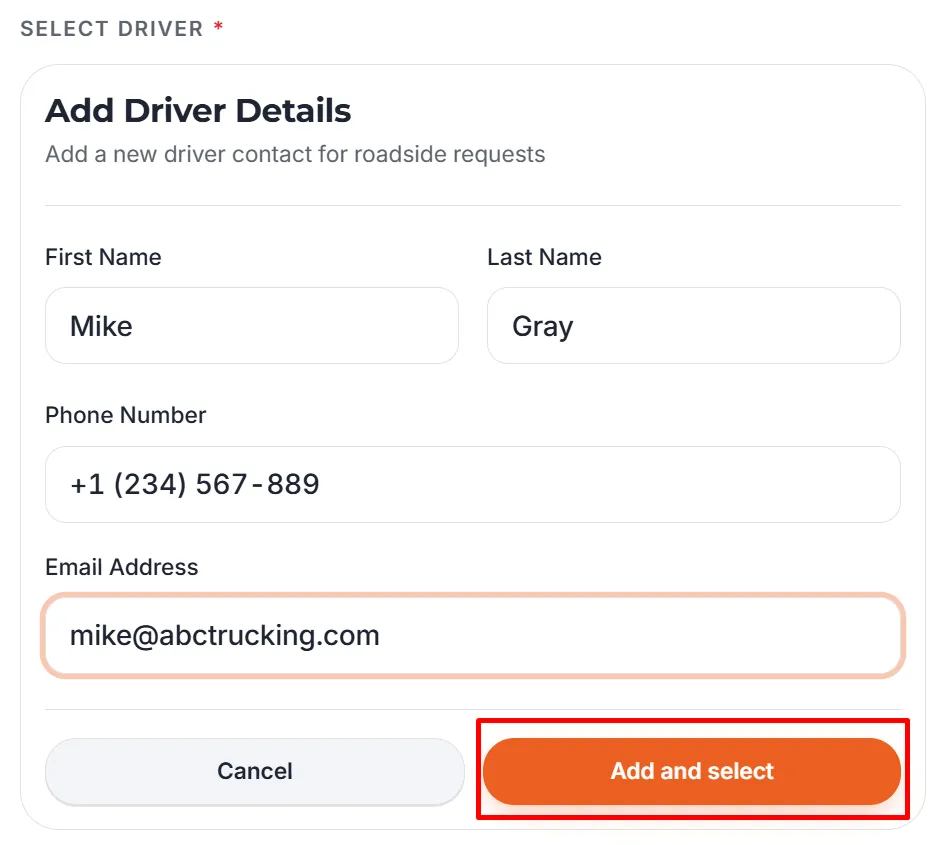
In the driver section, enter the driver’s full name, phone number, and email address. Then tap “Add and select.”
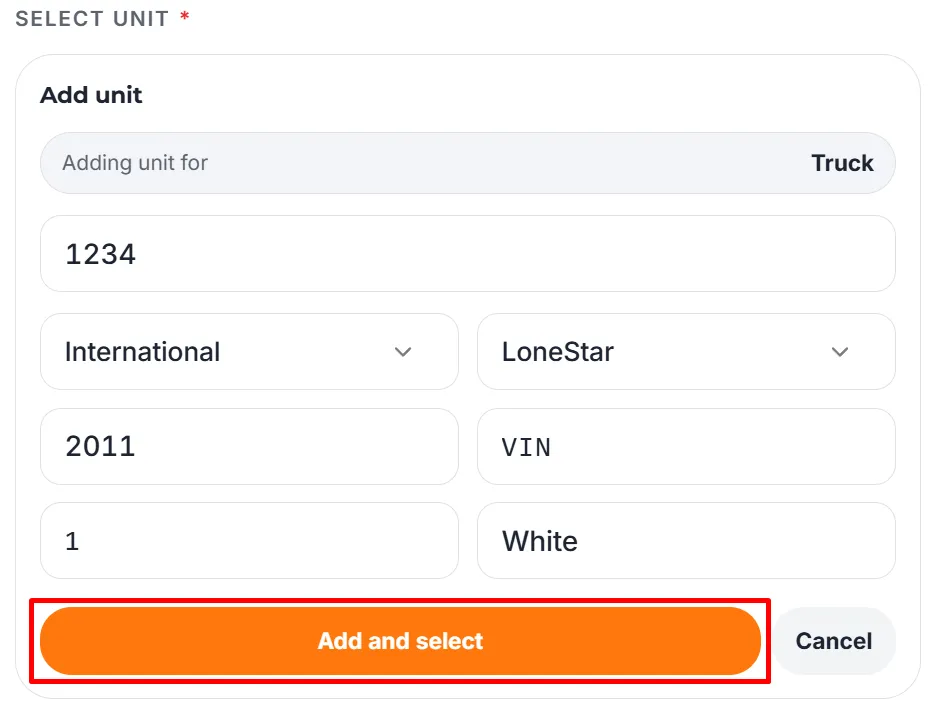
Next, add the vehicle or unit involved in the request by entering the available details, including the unit number, make, model, year, VIN, license plate number, and color. If the license plate number is not available, you can leave it out. Then tap “Add and select” to attach the unit to the roadside assistance request.
Accurate driver and vehicle information gives service providers the details they need to identify the correct vehicle and understand what equipment they will be working with.
6. Add Photos of the Issue
If you have photos of the vehicle or the problem, you can include them with the request. You can select an existing photo from the device's gallery or take a new one. Photos can give service providers a clearer understanding of the situation before they respond, particularly when the issue involves visible damage or a specific vehicle component.
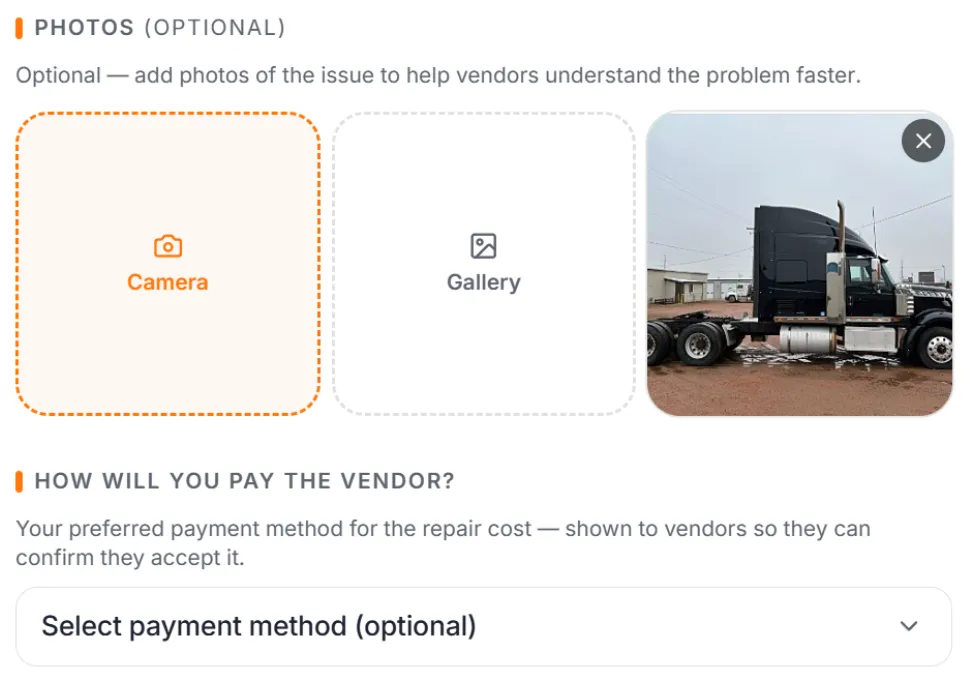
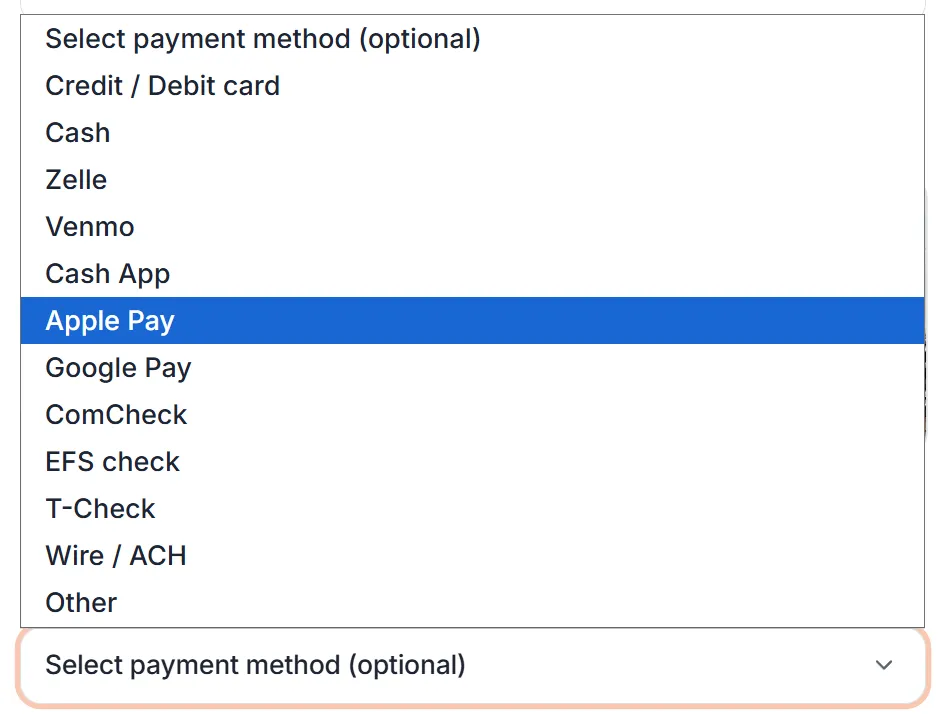
7. Select a Payment Option
Choose the payment option you want to use for the roadside assistance request. Review the selected payment information to make sure it is correct before moving on to the final review and submitting the request.
8. Double-Check and Submit the Request
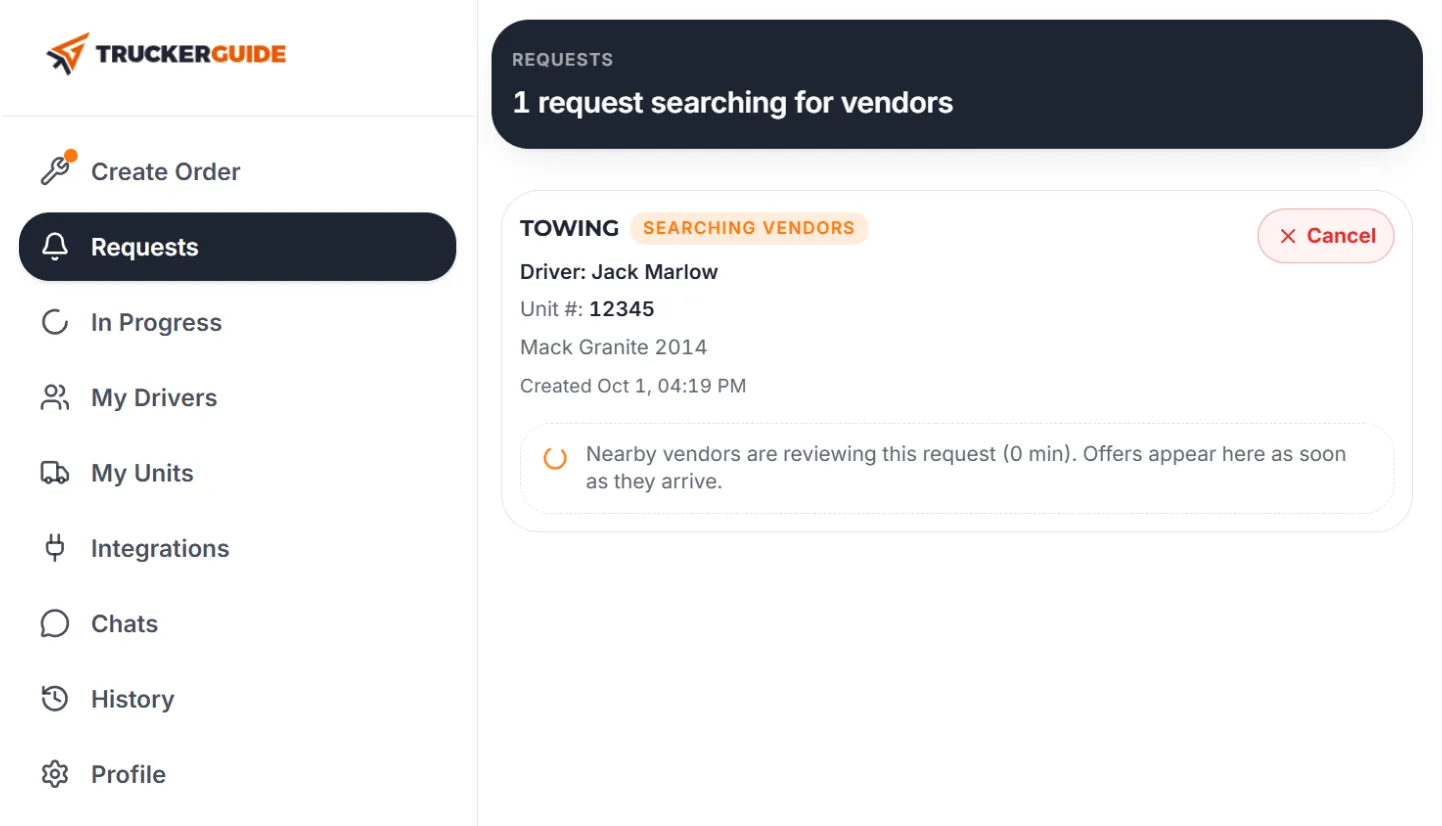
Before submitting, review the driver’s location, search radius, vehicle and service details, photos, and payment option to make sure everything is accurate. Once you’ve confirmed the details, submit the request. The system will send it to roadside service providers available within the selected radius, who can review the request and respond with their offers. You can track the request and view the responses on the “Requests” page.
9. Review Provider Offers and Arrange Assistance
Open the request from the “Requests” page to see the responses from service providers. Check the details of each offer, including the information provided about the available service, and compare the options based on what the driver needs. Once you’ve decided which offer to accept, select the provider you want to work with to arrange roadside assistance for the driver.
Ready to Simplify Roadside Assistance for Your Fleet?
When a driver needs roadside help, your dispatch team can handle the request through the Fleet Portal and connect the driver with an available service provider.
Log in to the Fleet Portal and submit a roadside assistance request for your fleet.


