

Part 1. How to Build a Route with Trucker Guide | Navigation?


Accurate navigation is a must-have for professional drivers, not only for reaching their destination but also for ensuring safety, compliance, and efficiency on every journey.
The Trucker Guide | Navigation system helps you plan routes that match your vehicle type and cargo needs, avoiding no-truck zones, restricted roads, and other hazards.
Ready to get started? Let’s walk through the first six steps to quickly build a smart, customized route, so you can get on the road with confidence.
Key Facts:
- Trucker Guide | Navigation supports up to 3 route options for comparison before starting a trip
- Drivers can add multiple stops and reorder them by dragging items in the route list
- The system allows destination selection via manual address input or direct map placement
- Route planning includes POIs such as fuel stations, rest areas, restaurants, and weigh stations
- Vehicle-specific settings include height, weight, and length for truck-safe routing accuracy
- Navigation is activated using the “GO” button after route selection and customization
Step 1. Open the Navigation System
Tap the truck navigation icon to launch the system. You’ll be taken directly to the direction screen, where the entire route-building process begins.
You May Also Like: Trucker Guide | Navigation: The Smart Choice for Every Trucker on the Road
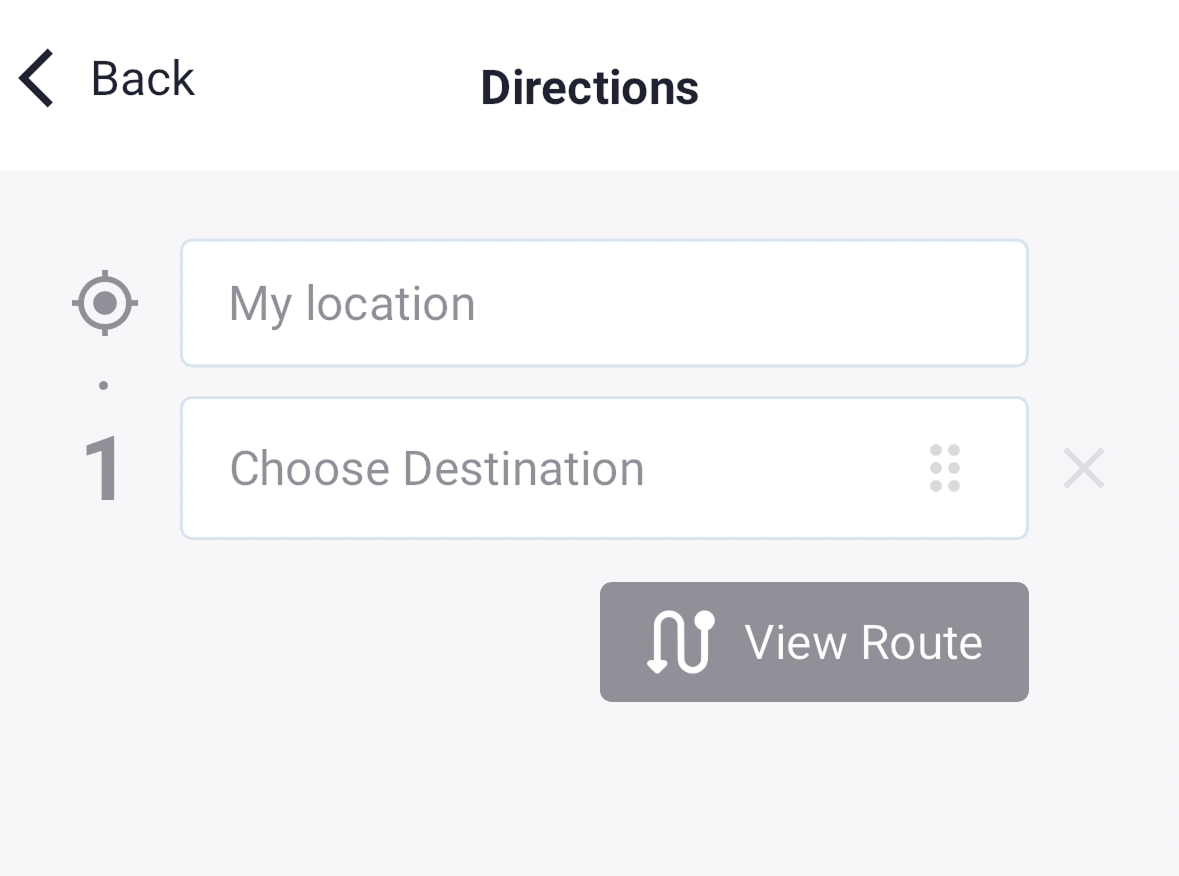
Step 2. Choose Your Destination
It’s the first step to build your route. The system will automatically detect your current location, so set your final destination to begin building your route. You can make it manually if you know the address.
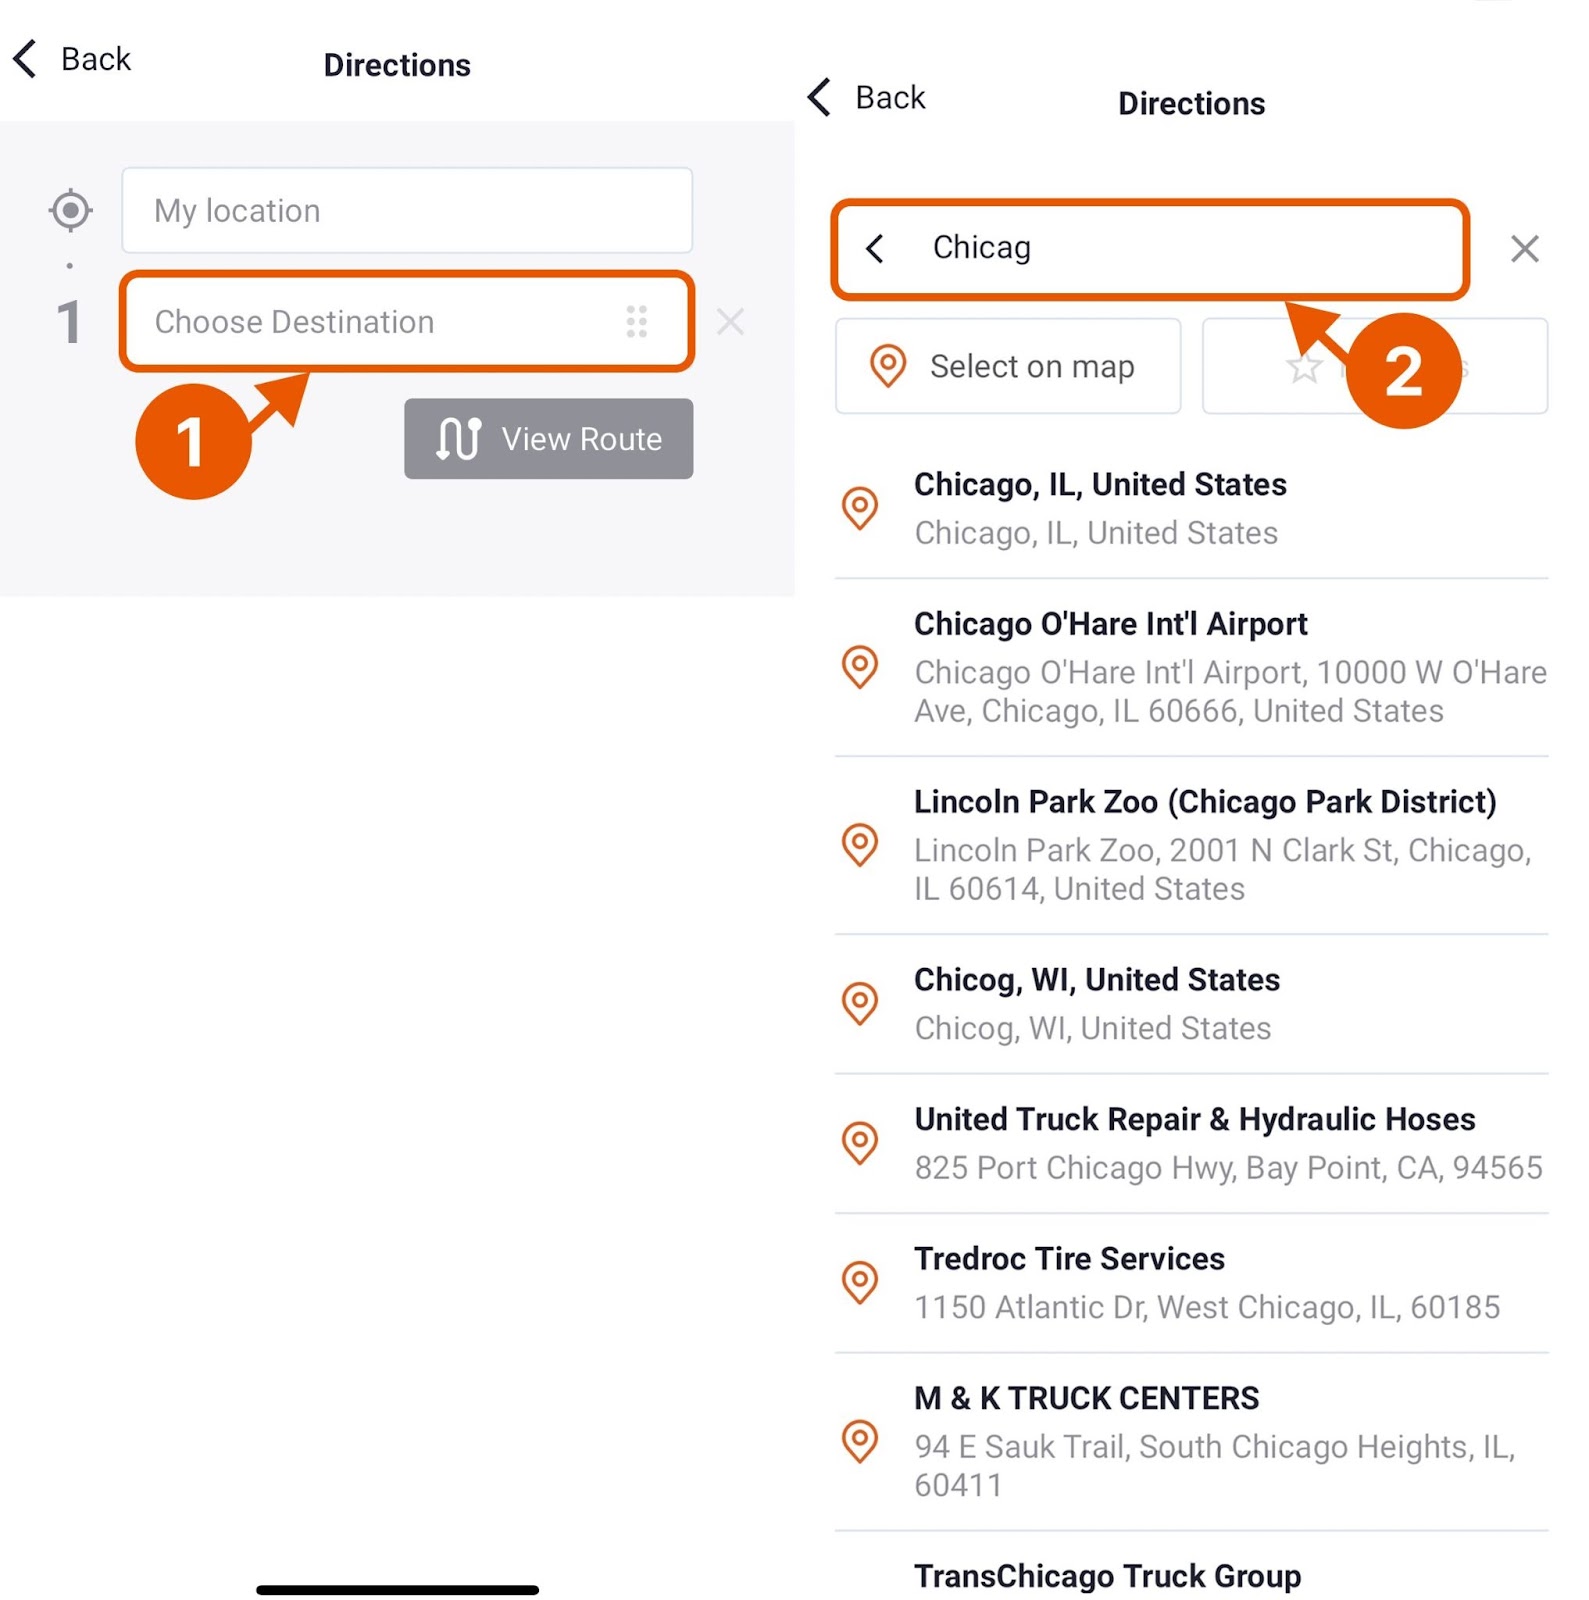
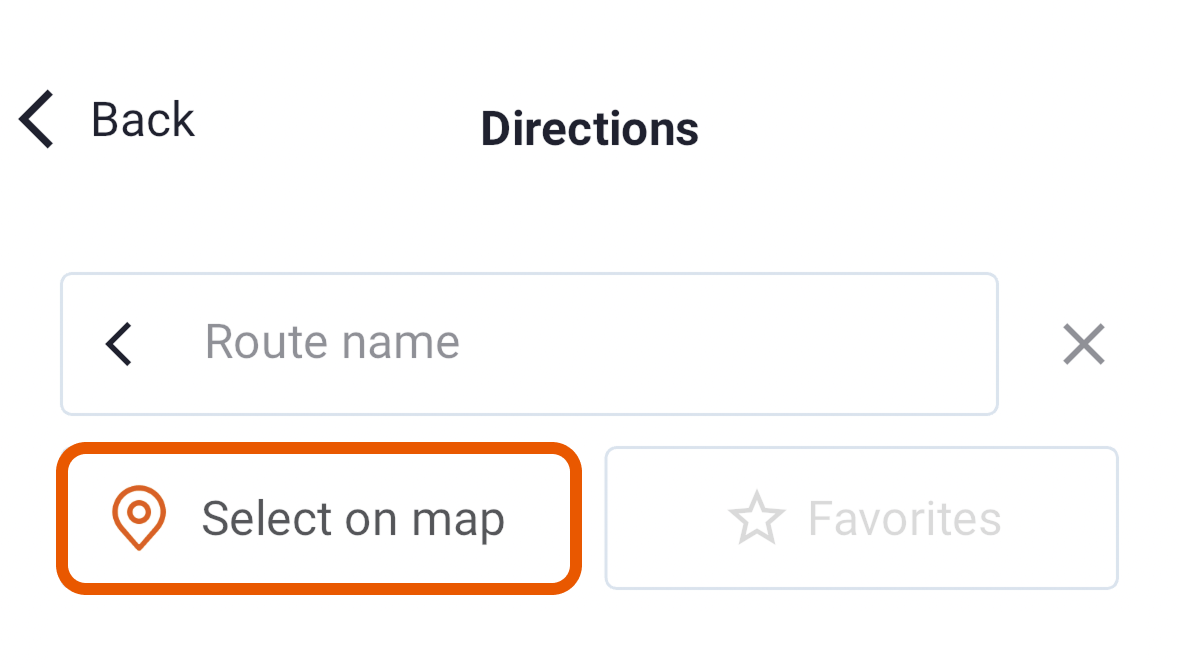
If typing addresses isn’t your thing (or you're not 100% sure of the exact one), there's another option. You can choose your destination directly on the map instead. Tap “Select on Map” to visually explore and drop a marker exactly where you need to go.
From here, you can pan around, zoom in for a closer look, and tap anywhere on the screen to drop a marker at your desired location. It’s a great way to get a better sense of the area. If you place the marker in the wrong spot, simply tap again to move it.
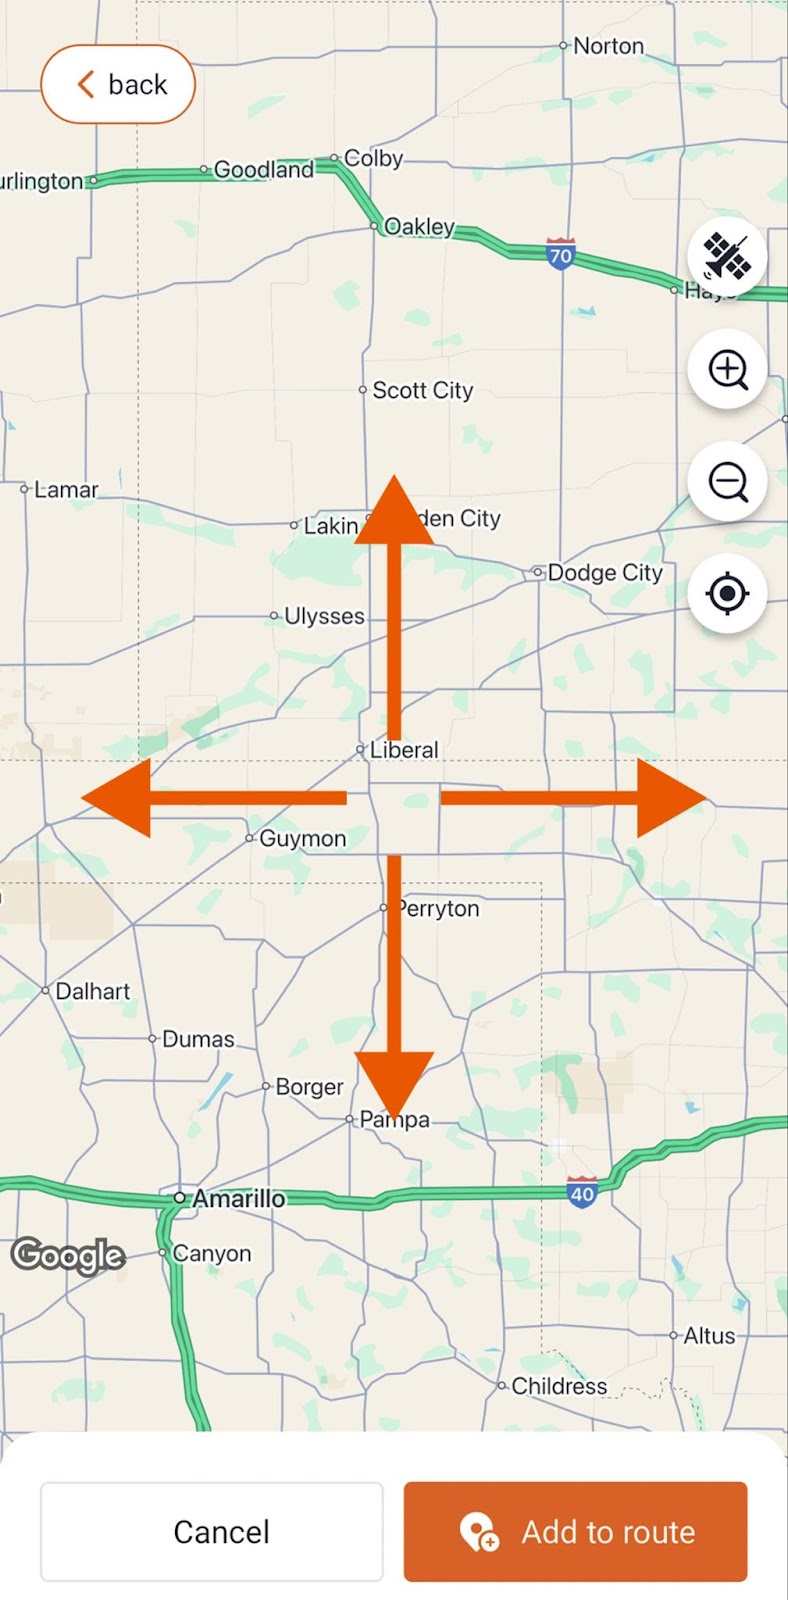
Once you’re satisfied with the placement, take a look at the bar at the bottom of the screen. You’ll see two buttons:
- Cancel – lets you discard the current selection
- Add to Route – confirms your destination and adds it to your list
Tap on “Add to Route” when you’re ready to move forward. The system will then return you to the first direction screen.
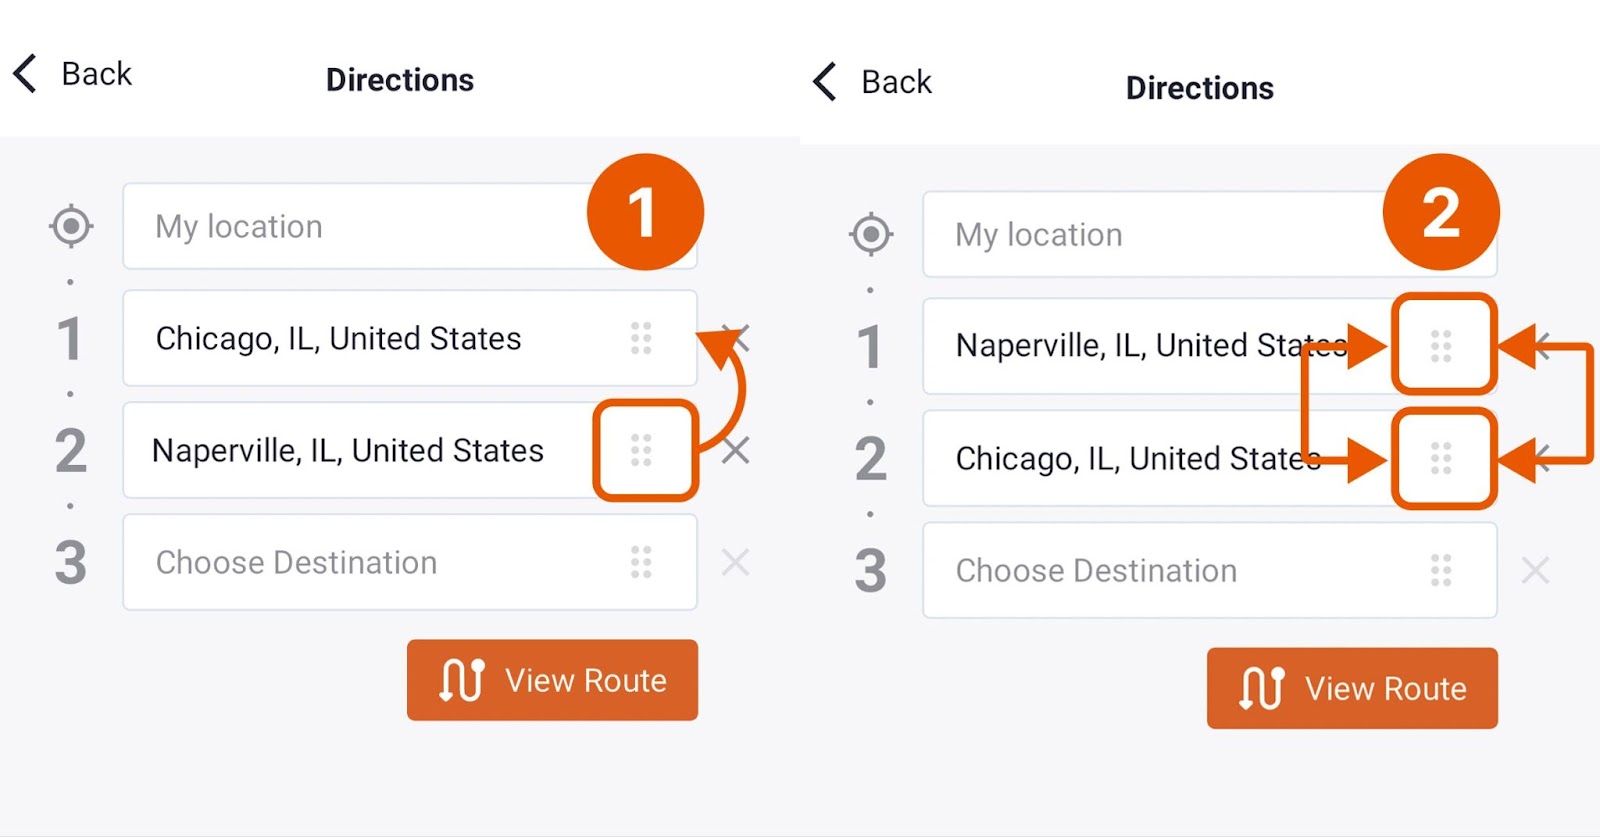
Step 3. Add More Stops (Optional)
Now that your primary stop is set, repeat the same process to build a complete multi-stop route if you need. Either type in the next address or use the map to pin another location.

If the stops are out of order, no problem. Just tap and drag each item up or down the list to rearrange them.
With all your stops added, reviewing your route options takes time. Tap the “View Route” button to enter the second mode of the system.
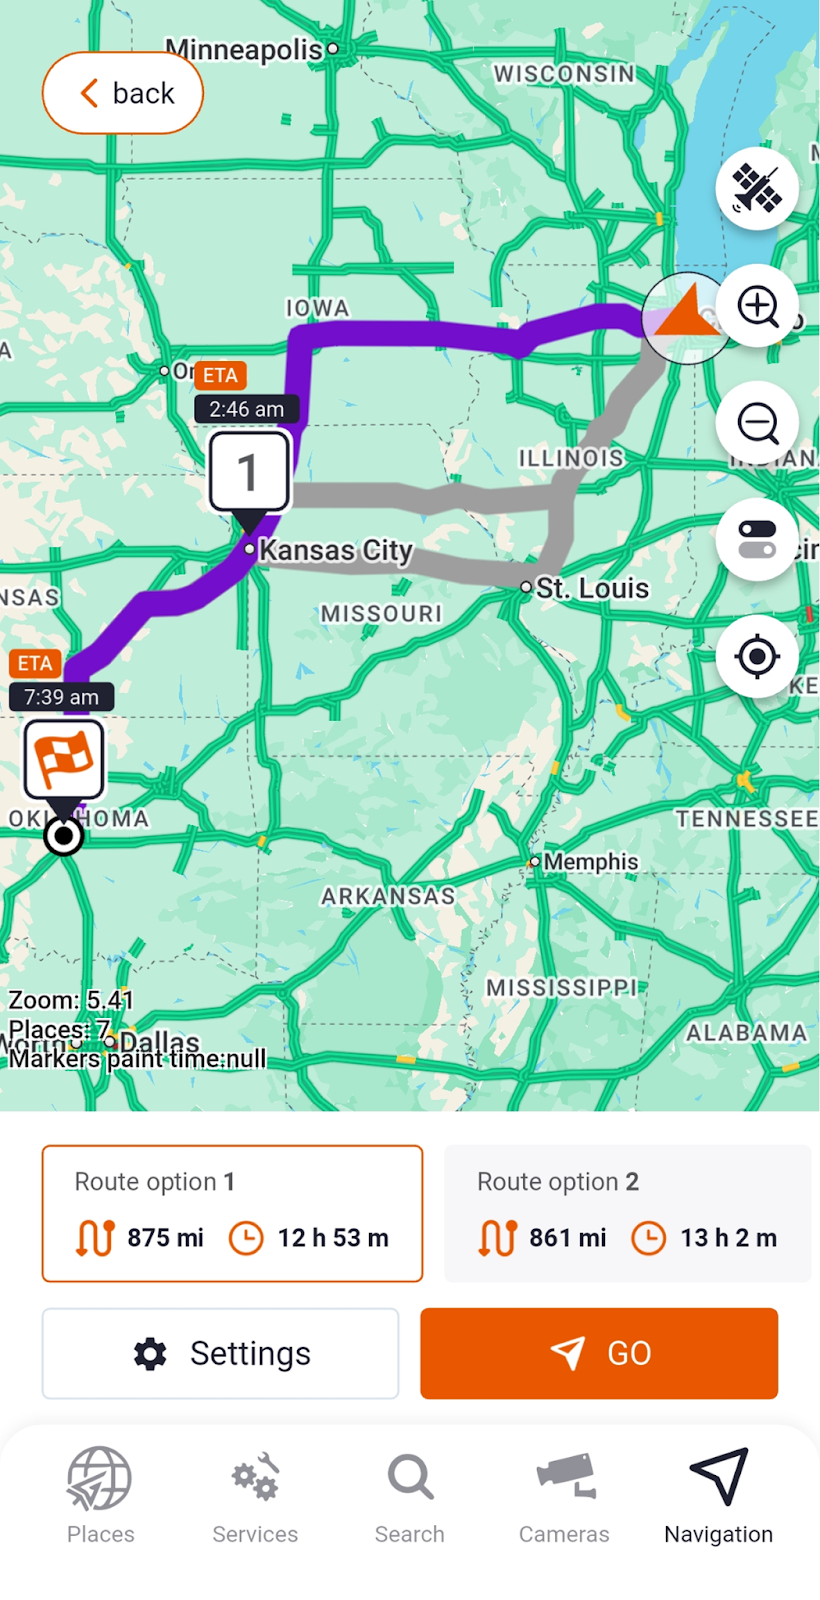
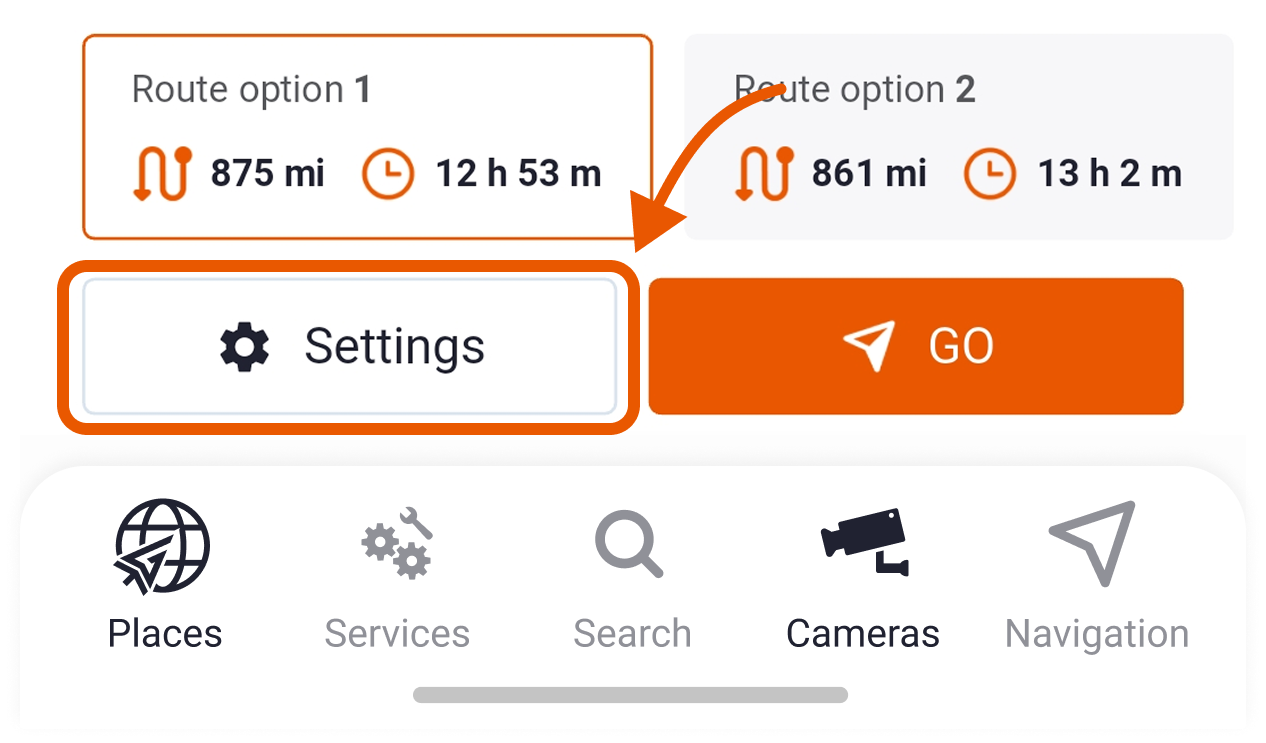
Step 4. Preview and Compare Your Route Options
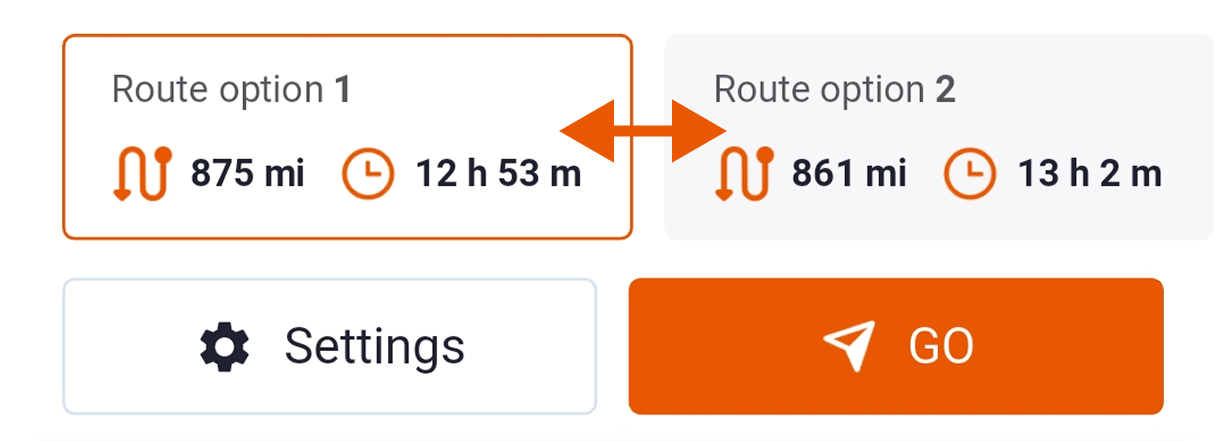
After entering your destination, you’ll be presented with up to 3 route options. Take a moment to review them and choose the one that best fits your needs.
Here are a few key details to consider:
- Distance - Check the total length of each route to help plan fuel stops and overall travel time.
- Total travel time – Stay on schedule by choosing the most efficient time option.
- Points of Interest (POIs) – While planning your route, add nearby places you may need, such as restaurants, diesel fuel stations, weigh stations, and rest areas directly from the bottom bar.
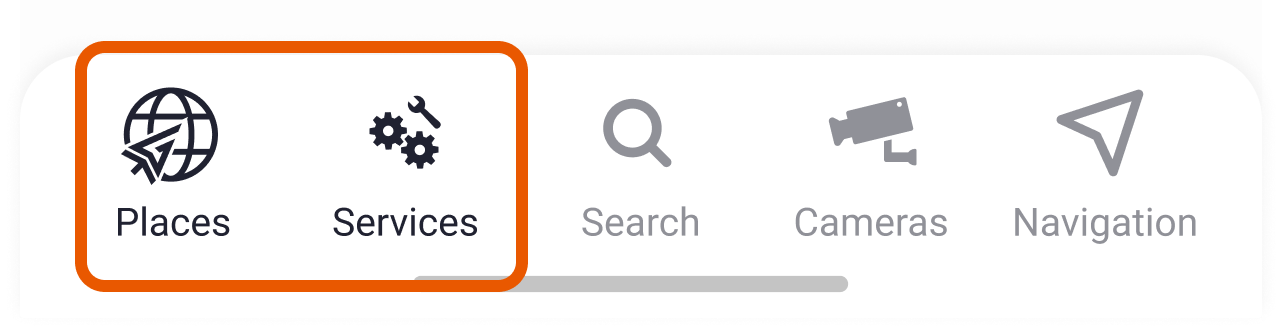
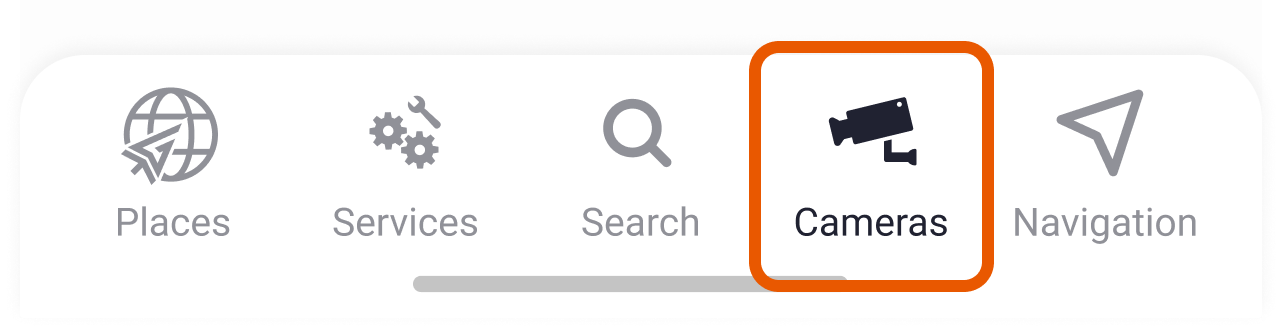
- Traffic Cameras – Get a clear picture of road conditions by accessing live traffic cameras along your route.
Taking a few extra seconds to review these details can save you a lot of time later.
Step 5. Customize Your Settings for a Smarter Route
Before hitting the road, ensure the system is tailored to your truck’s specifications and road preferences for the most accurate and efficient route.
You May Also Like: Part 2. How to Get Truck-Specific Routing Customized to Your Truck?
Let the system know:
- The height, weight, and length of your truck, so it avoids roads or bridges that aren’t suitable for your size.
- Road types you’d prefer to skip, such as toll roads, narrow streets, or ferries.
- If you're carrying hazardous materials, the system can plan a legal and safe route for hazmat transport.

Step 6. Start Navigating with Confidence
Once you’ve selected the route that works best for your trip, it’s time to start driving. Simply tap the “GO” button located in the bottom-right corner of the screen.

That’s when the main navigation mode begins, providing you with turn-by-turn directions, real-time traffic updates, and a range of helpful features to enhance your journey.

You’re now all set for a smooth, well-planned journey. See you in the next part!


